
I always wanted to be the type of person who had a stash of candy at the ready for anyone who strolls into my home, so ever since I discovered how easy it is to make candy, I’ve had a bottomless jar of salted caramels ready to greet anyone who walked through my door.
I may also have a perpetual stash in any purse.
And a bag in my freezer.
You get the point – I try to never run out. I’ve also discovered that salted caramels make for a wonderful gift — I’ve always believed that making food for others is one of the most special gifts there is, so as we approach the holiday season, I thought I’d share my tried and true salted caramel recipe for you to share with your loved ones (or stash for yourself, either works).
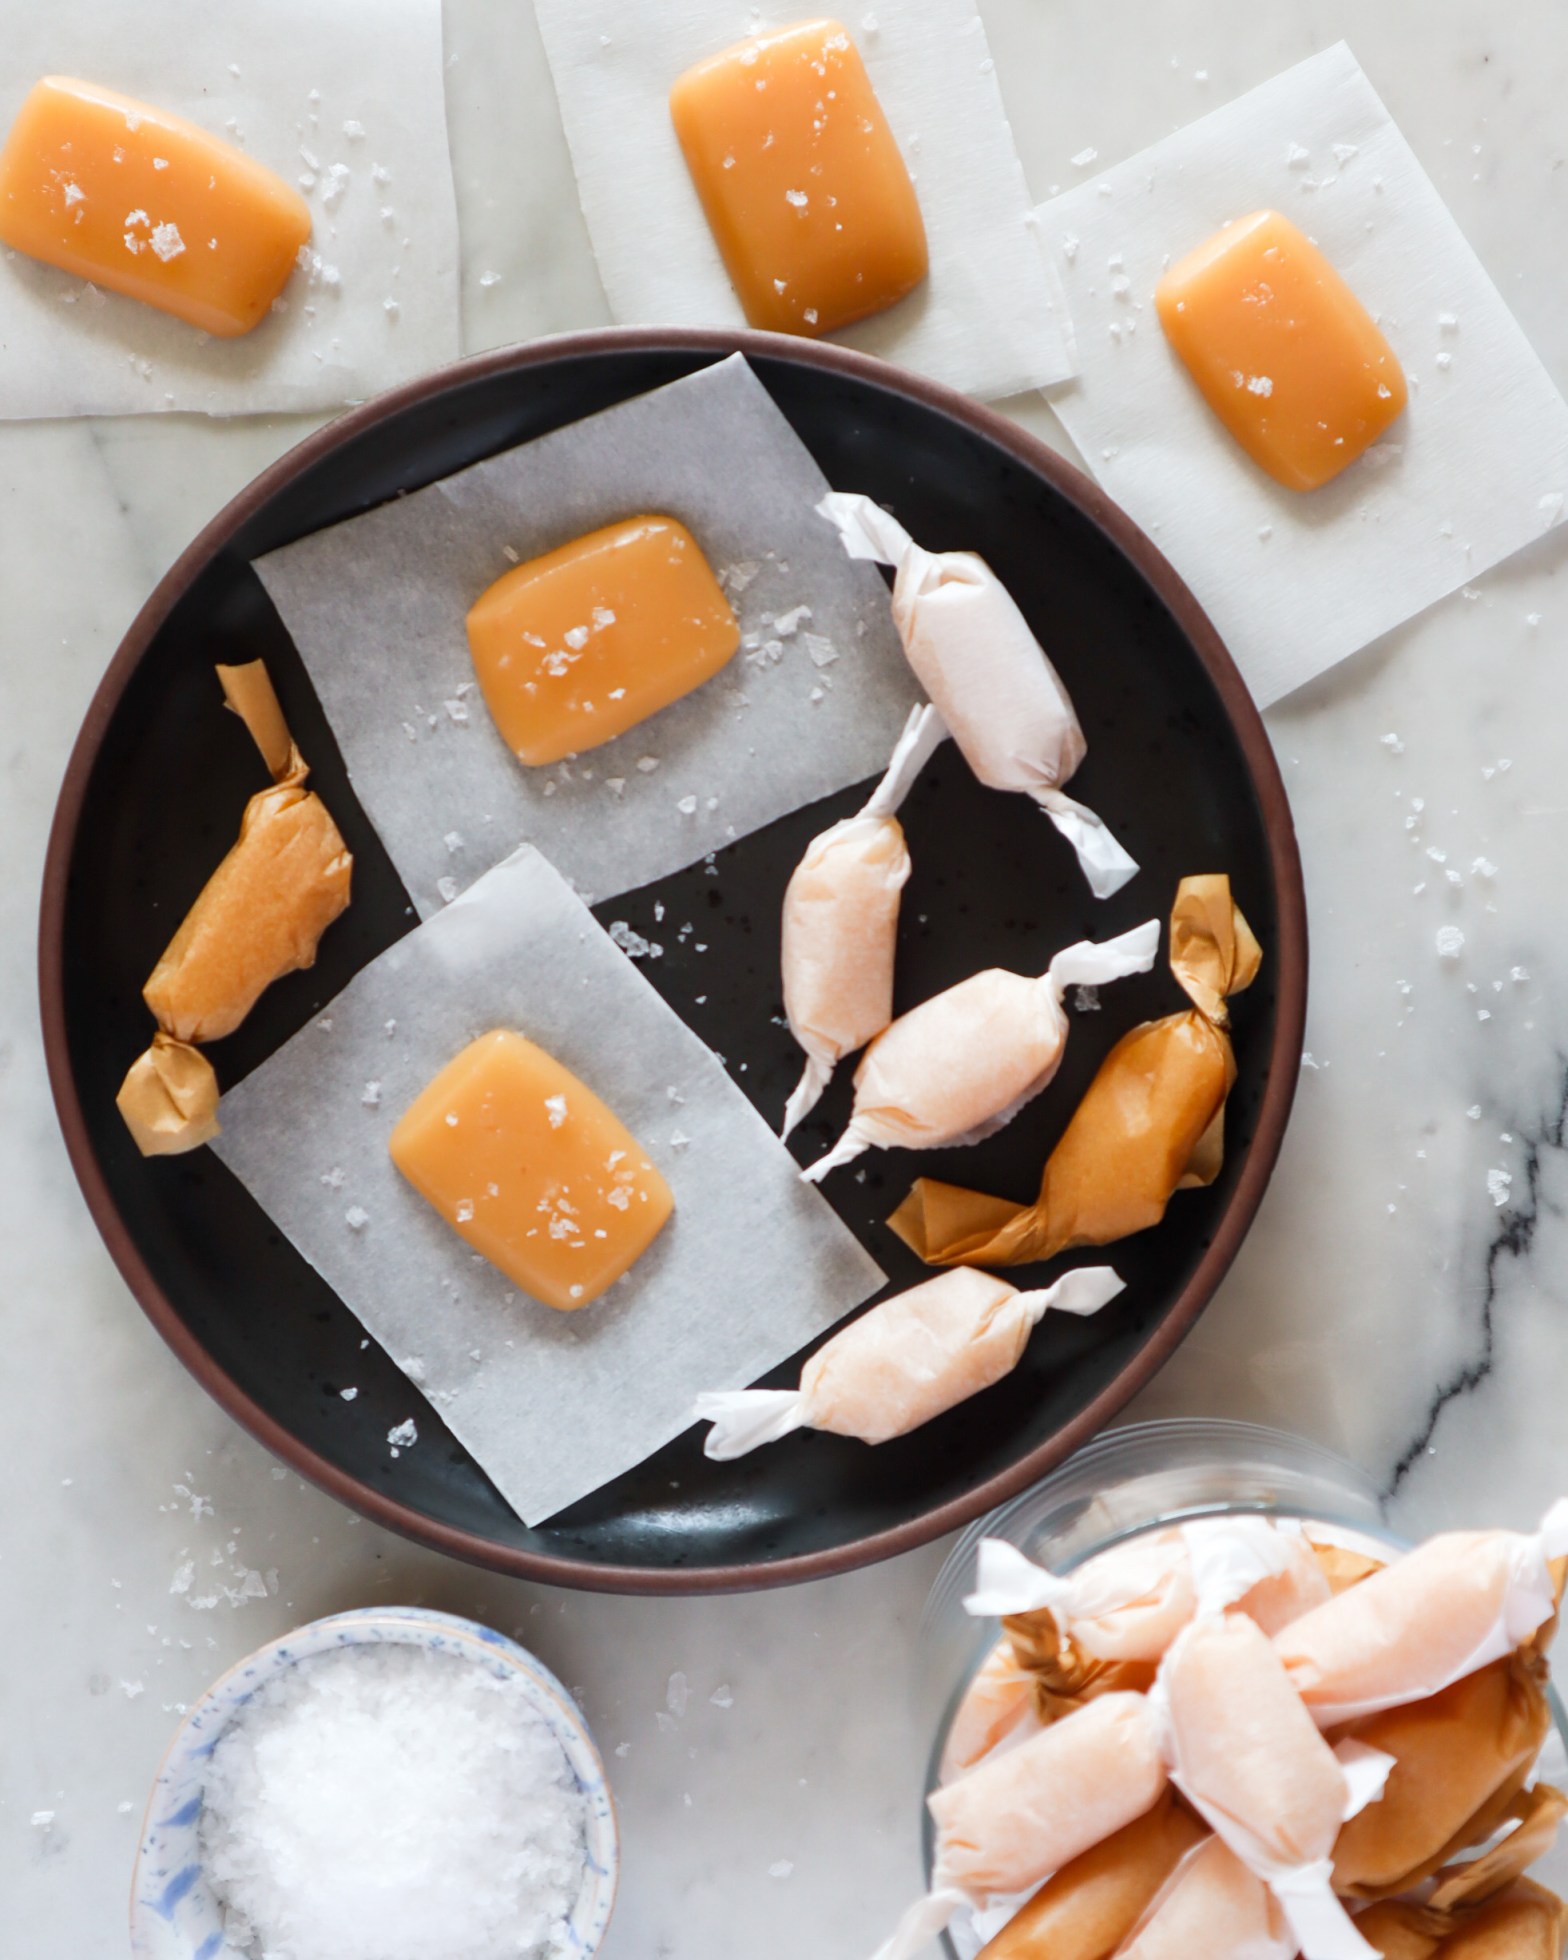
Salted Caramels
- 1 cup granulated sugar
- 1/4 cup light corn syrup
- 3 tbsp. water
- 1/2 cup heavy whipping cream
- 1/2 cup salted butter (8 tbsp)
- 1 tbsp. Maldon flaky sea salt
- Grease an 8×8 pan with a neutral flavored oil (like canola) and line with parchment.
- Heat the sugar, corn syrup, and water in a heavy-bottomed pot over medium heat — use a spatula to gently ensure all the sugar is moistened and allow the mixture to softly boil to 325F. (Candy thermometers are a life saver)
- While the sugar mixture is on the stove, heat the butter and heavy cream in a heat-proof bowl in the microwave until butter is totally melted. Tip: Do this in short, 30 second bursts, swirling the melting mixture in between.
- Once the sugar mixture, now a caramel, reaches 330F (and is a deep golden auburn color), carefully pour in the heavy cream/butter into the caramel and use the thermometer to stir the mixture slowly.
- Allow the caramel to boil until it reaches 245F, then add the salt and stir with the thermometer.
- Carefully pour the caramel into the greased pan, sprinkle with additional salt (if you’d like), and allow the caramels to cool for at least 4 hours.
- To wrap, remove from the pan using the parchment paper to gently lift the sheet of caramels and place on a cutting board.
- Freeze caramels for 10 minutes, then use a sharp knife to cut caramels into 1-inch squares. I like to do this by cutting down the middle of the sheet, then cutting a line down each half, then a line down each quarter. Rotate the sheet and repeat – you should have about 60 caramels, depending on how large you cut the candies.
- Wrap in squares of parchment – you can find pre-cut squares in most bake shops, but I usually cut my own.
- Enjoy immediately or freeze for up to a month (though they rarely make it that long…)
